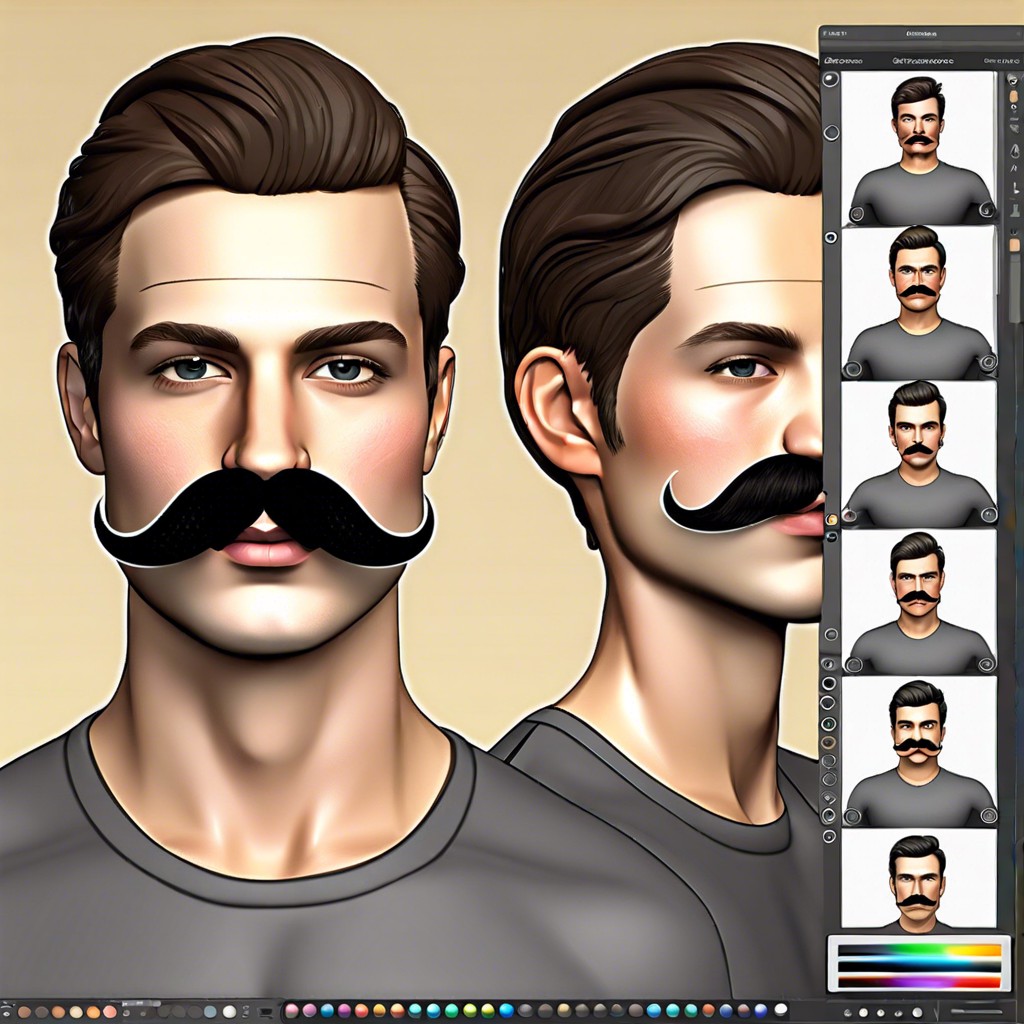
Learn how to effortlessly remove a mustache from your photo using simple tools and techniques.
Caught in a hairy situation with an unwanted mustache in a photo? No worries! This guide will arm you with the essential steps to banish that ‘stache like it never existed, seamlessly and skillfully. Stick around, and you’ll master the art of digital mustache removal faster than you can say, “photo-finish.” Ready, set, clone!
Key takeaways:
- Choose user-friendly photo-editing software.
- Use the clone stamp tool for best results.
- Sample nearby skin for better blending.
- Blend edges and maintain color consistency.
- Save in desired format, retaining original file.
Choose the Right Photo-editing Software

First things first, opt for software that fits your skill level. If you’re a newbie, think Photoshop Elements or GIMP. They balance power with user-friendliness. Experienced editors can dive into Adobe Photoshop, which offers a boatload of advanced features.
Consider cost too. Free options like GIMP or online tools like Pixlr can work wonders without emptying your wallet. On the flip side, subscription-based software like Adobe Photoshop can provide you with top-notch tools and regular updates.
Keep an eye on compatibility. Make sure the software works on your device, whether it’s a PC, Mac, or even a tablet.
Lastly, check out tutorials and community support. Some programs have thriving online communities where you can pick up tips and tricks. The easier it is to learn and get help, the smoother your mustache-editing journey will be.
Open the Photo in the Software
First, launch your chosen photo-editing tool and load up that masterpiece you wish to tweak. Locate the open or import option—usually a straightforward icon resembling a folder or a simple drag-and-drop affair.
Just like finding Waldo, only without the red stripes, navigate to your photo and select it. Most software will display the image immediately, ready for your creative touch.
Ensure the shot is clearly visible in the workspace. Adjust zoom if needed—being too close can feel like inspecting an ant farm, while being too far might miss details.
Quick tip: Keep layers intact. Duplicate the original image. This safeguards your precious work and helps you compare progress.
Select the Clone Stamp Tool
In your photo-editing software, find the clone stamp tool in the toolbar. It usually looks like a rubber stamp, not the kind you’d use for sending letters, but close. This tool is your new best friend.
- Here’s how it works:
- Select the tool.
- Adjust the brush size to be slightly larger than the thickness of the mustache.
- Set the hardness to a medium level for smooth blending.
- Keep the opacity high for more effective cloning.
Once you’re set, you’ll be sampling an area of skin that closely matches the skin tone near the mustache. Think of it as borrowing a patch from the neighborhood but for your face. Select this sample by holding down the Alt key (or Option key on a Mac) and clicking on the desired skin area. Now, you’re set to start the magic. Happy cloning, because who doesn’t like a bit of digital wizardry?
Adjust the Clone Stamp Settings
Now that you’ve got your trusty clone stamp tool open, it’s time to fiddle with those settings a bit. Keep things sharp and precise, just how we like our lines—and our jokes.
First, adjust the brush size. Too large, and you’ll end up cloning more than you bargained for. Too small, and you might miss bits. Aim for just right, Goldilocks.
Next, tweak the hardness. Softer edges blend like a charm, but don’t go too soft or it will look fuzzy. Find that sweet spot.
Opacity is crucial. Going full blast at 100% might seem effective, but it often looks harsh and unrealistic. Start with 50% and gauge from there.
Lastly, consider the alignment option. Aligned or not aligned can change how the clone follows your movements. Try both and see which gels with your editing mojo.
Choose a Nearby Sample Area On the Skin
Pick a spot on the skin that’s clean and clear—preferably somewhere close to the mustache area. This ensures that the cloned texture looks natural and blends seamlessly.
Avoid areas that have shadows or other facial features. A pristine spot can keep your edit looking crisp.
Use a moderately large brush size to cover the mustache while still retaining the skin’s natural texture. Aim for balance.
Check periodically to see how the changes are blending; you don’t want an overly smooth section that stands out.
Remember, subtlety is the name of the game. Get too creative, and you might end up giving your subject an unintentional face-lift!
Begin Cloning Over the Mustache Area
Start by clicking on the mustache section you want to remove. Make sure to carefully adjust the size of your clone stamp tool to fit the area.
Clone from a clean section of skin close to the mustache area. This ensures the texture and color match, avoiding a patchy look. Always clone in small sections to maintain control.
Work slowly and methodically, moving section by section. This helps keep the clonage looking natural and seamless.
Remember, the clone stamp is not a one-size-fits-all magic wand. Vary the sample spots to avoid repeating patterns that scream “Photoshop fail.”
Zoom in and out frequently. It’s too easy to get lost in the details and miss the big picture. Change perspectives to ensure it blends well with the surrounding facial features.
If errors happen, don’t panic. Simply undo and try again. You’re not alone; we’ve all turned mustaches into unplanned abstract art at some point!
Blend the Edited Area Smoothly
Picture this: you’ve just cloned away that rogue mustache, and now it’s time to make the magic seamless. Here’s how to nail it:
Start by softening the edges. An obvious border screams “Photoshop fail.” Adjust the brush hardness to create a feathered edge.
Match skin texture and tone. Too light or too dark will stick out. Sample small areas frequently to maintain consistency.
Zoom in! Pixel peeping reveals flaws invisible at first glance. Small movements can correct big issues.
Layer it up. Use layers to gradually blend adjustments, ensuring a natural look without overdoing it.
And always, always step back. A quick zoom-out reassures you’re on the right track.
Make sure your image looks like a mustache never even dared to exist.
Use the Healing Brush Tool for Final Touch-ups
Once you’ve cloned the majority of the mustache away, it’s time to bring in the big guns: the healing brush tool. Think of it as the magical eraser in your digital toolbox.
First, select the healing brush tool from the toolbar. It’s your new best friend for blending any rough edges left behind by the clone stamp.
Next, set the brush size just large enough to cover the imperfections. Aim for nearby areas of smooth skin to sample from, then gently brush over the uneven spots. The tool will blend the colors and textures seamlessly, making it look like the mustache was never there in the first place.
Take breaks to zoom out and admire your handiwork. This ensures that the edits look natural from a distance.
Lastly, don’t be afraid to go over any stubborn spots a couple of times. Practice makes perfect, and your photo will thank you for the extra attention to detail!
Zoom Out to Review the Final Result
Time to zoom out and behold your masterpiece! Step back and take in the whole picture. Here’s what to look for:
- Color Consistency: Ensure the tones match. Patchy areas are a no-go.
- Seamless Edges: No harsh lines. The transition should be smoother than a jazz saxophone solo.
- Facial Symmetry: Make sure you haven’t shifted the universe. Both sides should mirror each other well.
- Natural Expression: The face should look like… well, a face. If something feels off, trust your gut and tweak it.
Remember, moderation is key. A touch here, a nudge there, and you’re golden. Happy editing!
Save the Edited Photo in the Desired Format
Time to finalize your masterpiece. Here’s how to make sure you don’t lose all your hard work.
First, choose the format that best suits your needs. JPEG is great for everyday use and sharing on social media. PNG is perfect if you need a higher quality image with a transparent background.
Next, make sure to save a copy of the original photo before you make your edits. Always a good idea—you never know when you might need to revert.
Consider renaming the edited file something unique, so you don’t accidentally overwrite the original. MustacheBeGone.png, anyone?
Finally, double-check the file size. If it’s too large, compress it a bit to make sharing easier. Don’t ruin all that effort with a gargantuan file.
Now hit save and bask in the magnificence of your mustache-free creation.
