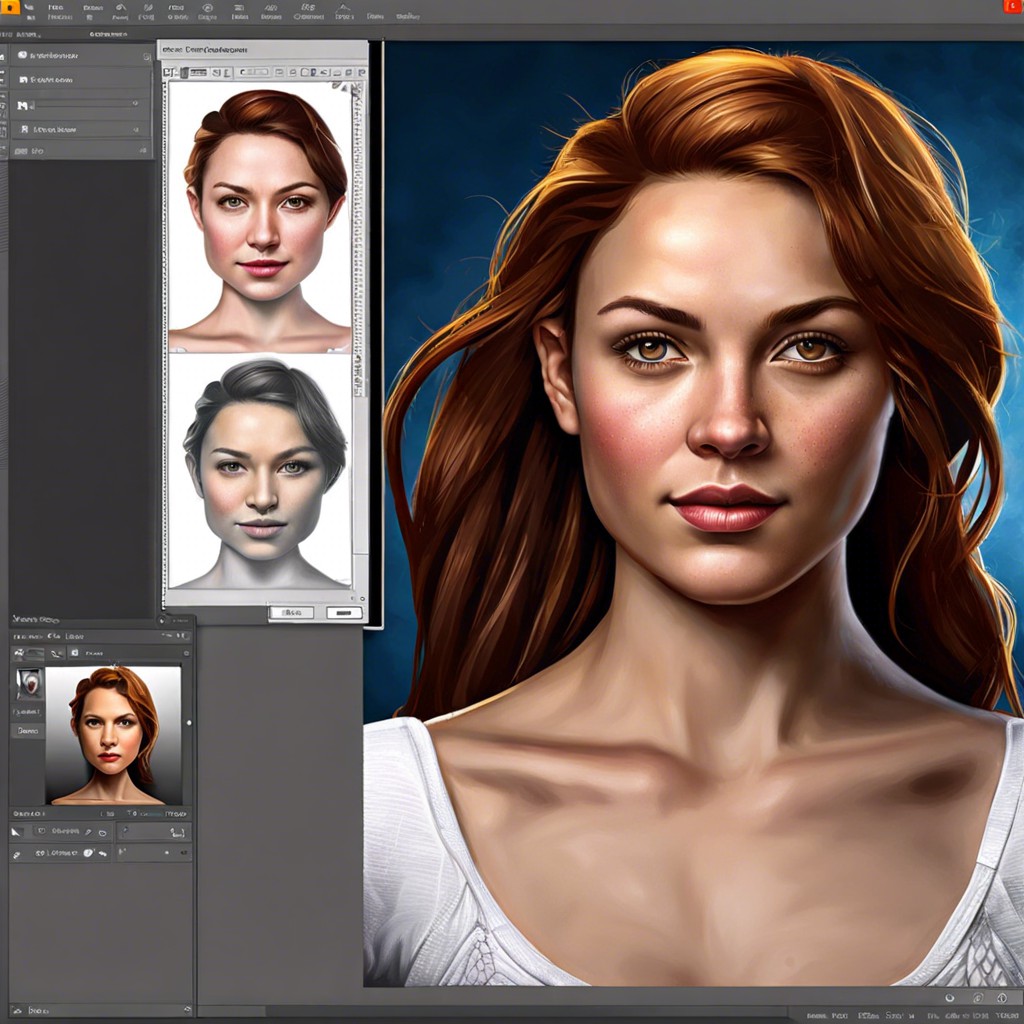
Learn step-by-step how to remove a mustache in Photoshop to give your photo subjects a clean-shaven look.
Ever wished you could swipe left on a mustache in your photo? With Photoshop, it’s a breeze! Follow these steps to say goodbye to that unwanted facial fuzz. Dive into details below for a flawless finish.
Key takeaways:
- Open image in Photoshop.
- Duplicate original layer for safety.
- Use Spot Healing Brush for quick edits.
- Zoom in for precision during editing.
- Save your masterpiece in high-quality format.
Open the Image in Photoshop

First, fire up Photoshop. Get that masterpiece ready for a little digital grooming.
Navigate to File in the menu bar, then click on Open. You’ll see a window pop up. Now choose the image with your mustached marvel.
Once the image is open, it’s sitting pretty on the main workspace, ready for your magic touch.
There you have it. Time to trim that digital stubble.
Duplicate the Original Layer
Creating a duplicate layer is a critical first step for non-destructive editing. This means you can always revert to the original image if needed.
Simply press Ctrl+J (Windows) or Command+J (Mac) after opening the image. This action duplicates your current layer.
Why duplicate?
- Safety net: Keep the original intact.
- Experimentation: Freely test edits.
- Reversibility: Easily undo changes.
No more mistakes ruining your masterpiece!
Select the Spot Healing Brush Tool
Now, it’s time to bring out the magical Spot Healing Brush. This tool is your best buddy for quick touch-ups.
Pop open your toolbar and find the little band-aid icon. That’s our hero. Click it.
- Here’s why this tool rocks:
- It blends textures automatically.
- It respects the surrounding skin tone.
- It’s quick and fuss-free.
Remember to use a soft brush for better blending. Just dab it on the mustache area, and watch the hair vanish like Houdini. Be gentle, be patient, and soon you’ll have a smooth canvas ready for the next step.
Keep on dabbing and blending. Voila, mustache-free!
Adjust Brush Size for Precision
Finding the right brush size is like picking the right spoon for your soup. You wouldn’t use a ladle for a teacup.
Smaller brush sizes give you more control, making it easier to handle detailed areas. Larger brushes can cover more ground but can make your edits look sloppy.
Use the [ and ] keys to quickly adjust the brush size. This keeps the workflow smooth and efficient. Try experimenting with different sizes on a test area first to find your sweet spot.
Getting this right means fewer oops moments and more wow results. Keep adjusting as needed — your mustache-free masterpiece awaits.
Zoom in On the Mustache Area
Grab your magnifying glass, we’re going in! Zoom closely into the mustache area to get a clear view of each hair’s villainous details. Precision is key here. Maintain focus.
- Zoom in while holding the Alt key and scrolling your mouse wheel. It’s like putting on your HD glasses.
- Make sure you’re zoomed enough to see individual hairs but not so much that you can see the pixels having a dance party. Aim for around 200-300%.
- Move around the area using the Hand Tool, so you don’t miss any sneaky hairs lurking in the shadows.
Remember, a sharper view equals a cleaner edit. You’re now a digital barber extraordinaire!
Apply the Spot Healing Brush Over the Mustache
Ready for magic? It’s time to watch the mustache disappear. Here’s the trick:
Start brushing over the mustache area gently. Use short, controlled strokes.
Keep an eye on the brush size. Too big, and you’ll mess with other features. Too small, and you’ll be at it all day.
Keep zoomed-in for precision. You don’t want to leave any rogue hairs.
For stubborn spots, go over them a couple of times. Sometimes, Photoshop might need a bit of convincing.
After a few strokes, the mustache will start to vanish, leaving smooth skin behind.
Remember, practice makes perfect. Keep experimenting until you’re happy with the results.
Use the Clone Stamp Tool for Finer Adjustments
This tool functions like a digital copy-paste machine. Ready your Clone Stamp by pressing “S” and select a soft brush. Hold the Alt key (or Option on Mac) and click to sample an area of skin near the mustache.
Now, let’s work magic. With careful brush strokes, paint over the remaining mustache shadows, blending them seamlessly into the skin.
A few tips:
First, vary your sample points to avoid creating repetitive patterns.
Second, keep your opacity low—think of it like a foundation brush, not a paint roller.
Lastly, toggle between original and current views frequently to check your progress.
Smooth the Skin With the Smudge Tool
Time to give that skin some TLC! Grab the Smudge Tool from the toolbar.
- Set the strength around 10-20% for subtlety.
- Gently drag the tool over the area where the mustache was, following the natural contours of the face.
- Blend the edges smoothly to make the retouching seamless.
Patience is your friend here. Small strokes work wonders. Avoid aggressive smudging; you’re blending, not erasing a crime scene. Remember, less is more.
Retouch With the Healing Brush Tool
With the mustache nearly gone, it’s time to perfect the skin. The Healing Brush Tool is your magic wand for this. Select it from the toolbar. This tool lets you paint over imperfections using sampled pixels.
First, set a source point. Hold down the Alt key and click on an area of skin close to the edited section. This ensures the texture and tone match seamlessly.
Now, gently paint over any remaining artifacts or inconsistencies. Adjust brush size as needed. Smaller brushes are great for precision, while larger brushes cover more area quickly.
And voilà! The face should now look natural and flawless, without a hint of the previous mustache.
Review and Save the Edited Image
Time to admire your masterpiece. Zoom out to see the entire image, making sure everything looks natural. Pay close attention to the skin texture; you don’t want any weird patches.
Adjust lighting and colors if needed to blend the edited area seamlessly with the rest of the face. Sometimes a little fine-tuning goes a long way.
Save your work! Use Save As to keep the original intact, or create a new file entirely if you’re feeling extra cautious. Opt for high-quality formats like PNG or TIFF if you’re planning on further edits or detailed use. If it’s just for social media, JPEG will do the trick.
And voilà! Your mustache-free image is ready to dazzle.

