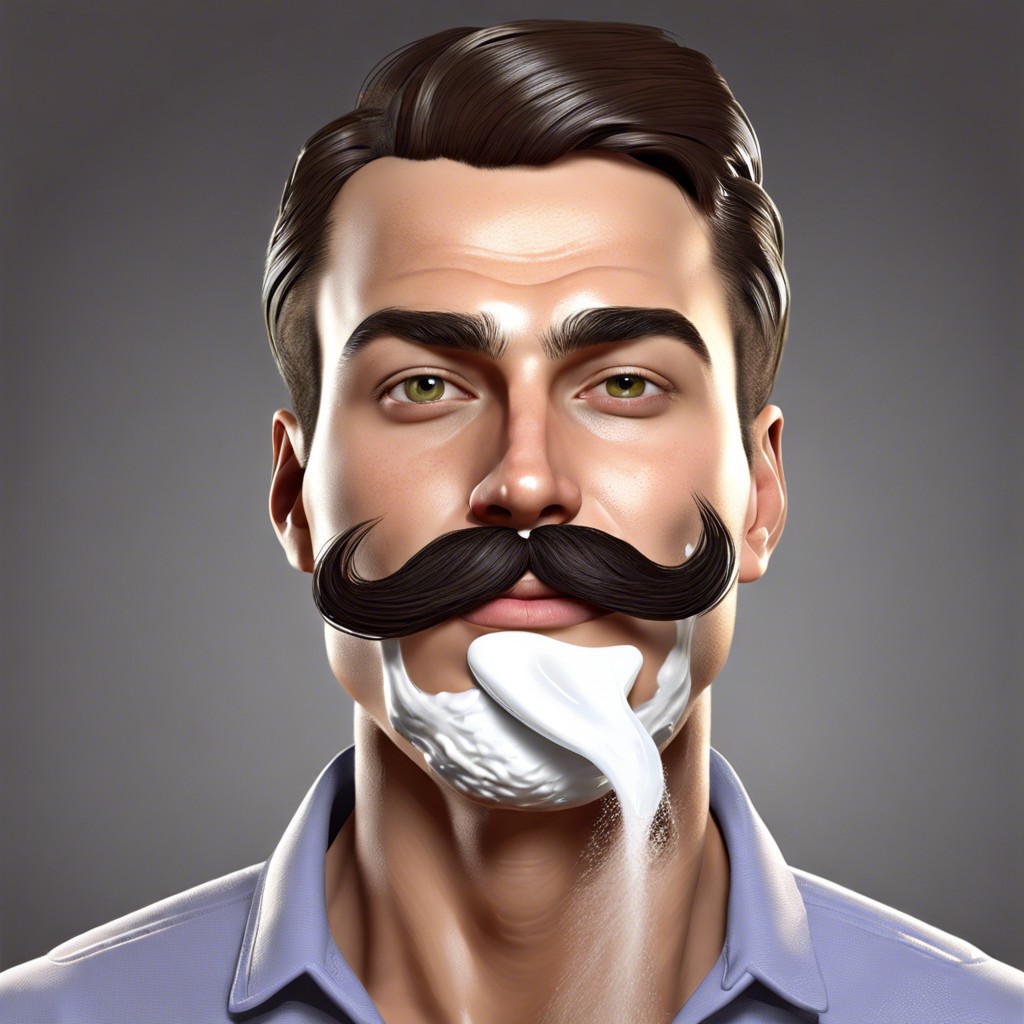
Learn how to apply mustache wax for a perfectly styled ‘stache that turns heads.
Prepare to take your mustache grooming game to the next level, my follicle-flaunting friend! Want to master the art of mustache wax application? You’re in the right place. From pre-wax prep to pro-level finishing touches, this guide covers every essential step you’ll need. Get ready to turn those whiskers into a work of art!
Key takeaways:
- Cleanse and Dry Before Waxing
- Warm and Soften the Wax
- Apply with Gentle Motions
- Shape and Style with Care
- Optional: Lock in Place with Blow Dryer
Cleanse and Dry the ‘Stache

You don’t want yesterday’s crumbs stuck in today’s masterpiece, right? Always start with a clean slate, or in this case, a clean mustache.
Use a gentle face wash to remove any dirt, oil, or leftover snack residue. Think of it as giving your whiskers a fresh canvas to work on. Dab your face with a towel to dry, but beware of aggressive towel-rubbing. You don’t want to look like you’ve just tussled with a wooly mammoth.
Once dried, give it a quick brush-through. This detangles and sets the stage for that glorious mustache wax application. Your mustache deserves the spotlight, after all.
Warm the Wax
Grab that tin of mustache magic. Wax, not tuna.
First thing, you want to soften it up. Firm wax can be stubborn as a mule kicking a can down a cobblestone alley.
Use the heat from your fingers or palm. Rub it. Your body’s natural warmth is perfect for this. If the wax is extra tough, hold it near a warm light bulb (no, not in your scrambled eggs, amateur chef).
Scooping a pea-sized amount is usually good for a start. Rub it between your fingers until it feels like a butter pat ready to melt.
Now, you’re ready to make that mustache dazzle.
Apply It
Grab a small pea-sized amount of wax. Less is more here; you can always add more if needed.
Rub it between your fingers. Think of warming it up like a secret handshake with your mustache.
Start at the center and work your way out. This ensures even distribution and a balanced look. No one wants a lopsided ‘stache.
Use gentle, smooth motions. Tugging and pulling? Leave that for tug-of-war, not your facial hair.
Don’t be afraid to get a bit messy. Adjust and shape as you go; you’re crafting a masterpiece, not performing delicate surgery.
Guide It Into Place
Now that your wax is applied, let’s get artsy. It’s time to shape that masterpiece.
Use a small comb or your fingers to gently nudge the mustache hairs in your desired direction. Think of it like softly herding cats, but without the claws.
Start from the middle and work outward. This ensures even distribution and avoids a clumpy disaster.
For more intricate styles, like the illustrious handlebar, twist the ends delicately. Just enough to give it flair, but not so much that you look like a caricature of a villain.
Blow Dry It (Optional)
If you’re feeling fancy and want to lock that ‘stache in place, bust out the blow dryer. Here’s the lowdown:
First, set your dryer to a low heat. High heat? Not a good look. We’re aiming for style, not scorch.
Keep the dryer moving. Stationary heat can frizz up your whiskers faster than a cat on a hot tin roof.
Use your fingers or a fine-tooth comb to direct the hair. Think of it as sculpting a masterpiece. (Or at least, making sure you don’t look like you’ve been electrocuted.)
A few seconds should do. We’re talking sleek, not solidified.
Got some extra time? Use the cool setting to finish. It helps set the style without the frizz attack.
And voilà, your mustache should be looking spiffy and stage-ready.
Bonus: Handlebar Mustache Tips
For those swinging handlebar vibes, ensure your wax game is strong. Precision is key. First, twiddle some warmed wax between your fingers. Dab it onto the center of your mustache and gently twist the tips upward in a graceful, sweeping motion.
Consistency is your friend here—regular touch-ups will keep your handlebars looking spectacular. If you find any pesky hairs going rogue, a mini comb can be a lifesaver. It’s worth investing in a good one. Don’t forget, a little patience goes a long way; perfection doesn’t happen overnight.
Also, channel your inner strongman by practicing the curl. Yes, practice makes perfect applies even to mustaches. The more you twist and curl, the more naturally they’ll stay put.
And hey, consider a blow dryer for that extra hold. But remember, you’re styling a ‘stache, not baking a cake—low heat, folks!
Mustache Trimming Tips
Keep the lines crisp and clear. Trimming can make or break your ‘stache game. Start with dry hair— wet hair lies to you about its true length.
Use a small mustache comb to detangle and align the hairs. Trim slowly, starting from the middle outward, ensuring symmetry on both sides. Precision trimmers or small scissors work best; larger tools are a recipe for disaster. Oh, and controversial opinion incoming: avoid over-trimming the top line. Let it grow naturally for a fuller, richer look.
Regular maintenance is key. That rogue hair sticking out? Snip it. A well-groomed mustache is a happy mustache.

