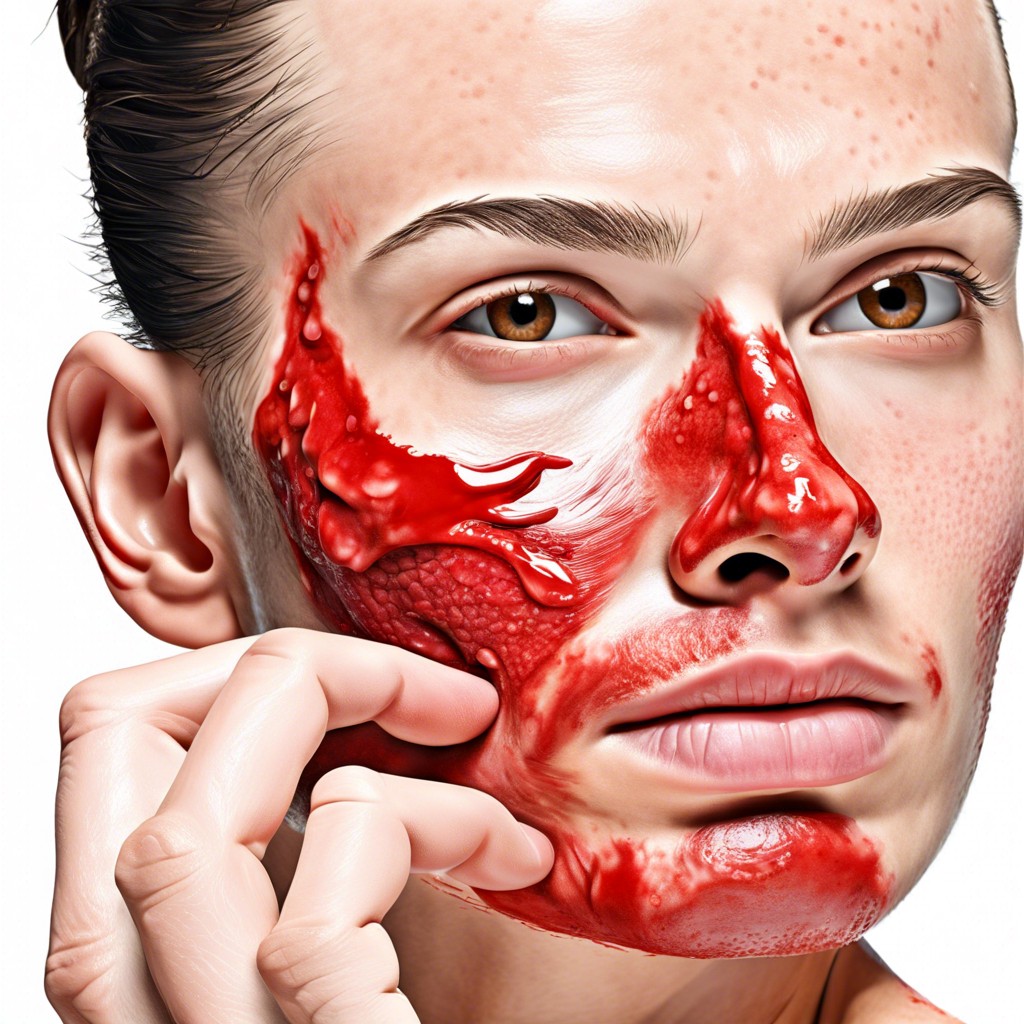
Discover effective, straightforward tips to banish razor burn and soothe your skin instantly.
Shaving promises that clean, smooth look, but razor burn is the fiery beast lurking in the shadows. A striking adversary, its red bumps and itchiness are unwelcome guests on cheeks, necks, and beyond. Fear not, for there’s a bounty of solutions! With a blend of soothing aloe, cool compresses, and some sage shaving wisdom, you can vanquish this foe. Let’s dive into the magical world of smooth shaves and goodbye irritation!
Key takeaways:
- Razor burn is irritation post-shave, can be painful.
- Common in cheeks, neck, bikini line, sensitive areas.
- Causes: dull blades, lack of lubrication, pressure, wrong direction.
- Treat with aloe vera, compresses, avoid alcohol-based aftershaves.
- If issues persist, seek medical advice promptly.
What Is Razor Burn?

It’s that annoying, often fiery irritation after a shave. Razor burn is your skin’s way of saying, “Too rough, buddy!” It can happen anywhere you shave: face, legs, armpits – you name it.
Typically, it shows up as red, itchy patches or small bumps. Think of them as unwelcome party crashers on your skin. These irritations can range from mildly annoying to seriously painful, making you regret picking up the razor in the first place. And yes, it’s more common than you’d think. Whether you’re a daily shaver or a once-a-week warrior, no one is entirely safe.
Razor burn is often confused with razor bumps. The former is caused by skin irritation, while the latter involves ingrown hairs. It’s like comparing a sunburn to a bee sting; both unpleasant, both avoidable, both demanding immediate attention.
Common Razor Burn Locations
Razor burn can pop up in some of the most tender spots. The cheeks and neck are frequent victims, especially for those crafting a clean, polished look. Ankles, anyone? Shaving mishaps here can make you dread sock season.
Then there’s the bikini line, which can rebel against your summer swimsuit goals with angry red bumps. Men’s chests and backs are also hotspots, because why should legs and faces have all the fun?
Sensitive skin areas tend to flare up more, making razor burn an irritatingly universal issue. So, whether it’s your face, neck, legs, or somewhere else—these pretty much cover the typical zones. Or as I like to call them, the Razor Burn Red Zones.
What Causes Razor Burn?
Razor burn can be a pesky problem, and there are several culprits behind it. First, using a dull blade is a one-way ticket to irritation city. Old razors tug at hairs instead of slicing smoothly, leading to inflammation.
Next, shaving without proper lubrication—think shaving cream, gel, or even oil—leaves your skin vulnerable. Dry shaving is a big no-no. It’s rough on your skin and invites razor burn.
Applying too much pressure is another major offender. You wouldn’t hammer a nail with a marshmallow, so don’t manhandle that razor. Light, gentle strokes are key.
Finally, shaving against the direction of hair growth might give you a closer shave, but it can also cause fiery red bumps. If you’re prone to irritation, stick to the grain for a smoother ride!
How to Treat Razor Burn
To soothe those pesky razor burn woes, start with some basics.
First, reach for aloe vera. It’s a miracle worker straight from nature. Dab a little on the irritated skin and let its cool, calming properties do the magic.
Next up, cold and warm compresses. Start with a cold one to reduce inflammation and redness. Switch to a warm compress later to open up pores and promote healing.
Consider skipping the aftershaves loaded with alcohol. They sting and can exacerbate the burning sensation. Opt for a soothing, alcohol-free moisturizer instead.
If you’ve got tea tree oil laying around, mix a few drops with a carrier oil. Its antibacterial properties can help keep infections at bay while your skin heals.
And lastly, give your skin a break. Let it rest for a day or two before diving back into your shaving routine. Your face needs a holiday too!
There you go – smooth and simple remedies to tackle those fiery razor burns.
Aloe Vera
Aloe Vera is the unsung hero in your bathroom cabinet. This magical plant doesn’t just belong in your grandma’s garden. Known for its soothing and anti-inflammatory properties, Aloe Vera can work wonders on irritated skin.
First, slice open a leaf or use store-bought Aloe Vera gel. Ensure it’s 100% pure, no sneaky additives.
Apply a generous layer to the affected area. Let it sit for about 15-20 minutes. Your skin will thank you.
Aloe Vera isn’t just a one-time fix. Reapply 2-3 times daily for the best results.
This versatile plant helps by calming the irritation and reducing redness. It’s like a high-fiving your skin with nature’s cool hand.
Cold and Warm Compresses
Start with a cold compress to reduce inflammation and numb the area. It’s like giving your face a mini ice bath, but without the brain freeze. Simply wrap some ice cubes in a clean cloth and apply to the affected area for a few minutes. Those pesky red bumps will thank you.
Follow it up with a warm compress to open up your pores. Warm water on a washcloth will do the trick. This not only feels soothing but also helps any stubborn hairs to relax and come out of hiding. Think of it as a spa day for your stressed-out skin.
Switching between cold and warm compresses can provide a one-two punch to knock out razor burn. Cool down the irritation, then warm up to healing. Easy peasy.
When to See a Doctor
Sometimes, razor burn is a sign it’s time to call in the pros. If redness, swelling, or itching persists beyond a week, it may be more than a simple razor burn. Watch out for signs of infection like pus, blisters, or increased pain.
Don’t ignore a fever that comes alongside your razor burn—it’s a clear red flag. Also, any weird bumps that become painful or start spreading like gossip at a high school reunion should get a doctor’s attention.
Remember, while homemade remedies can work wonders, a medical expert ensures there’s nothing more sinister brewing beneath the surface. Always better to be safe than sorry.


