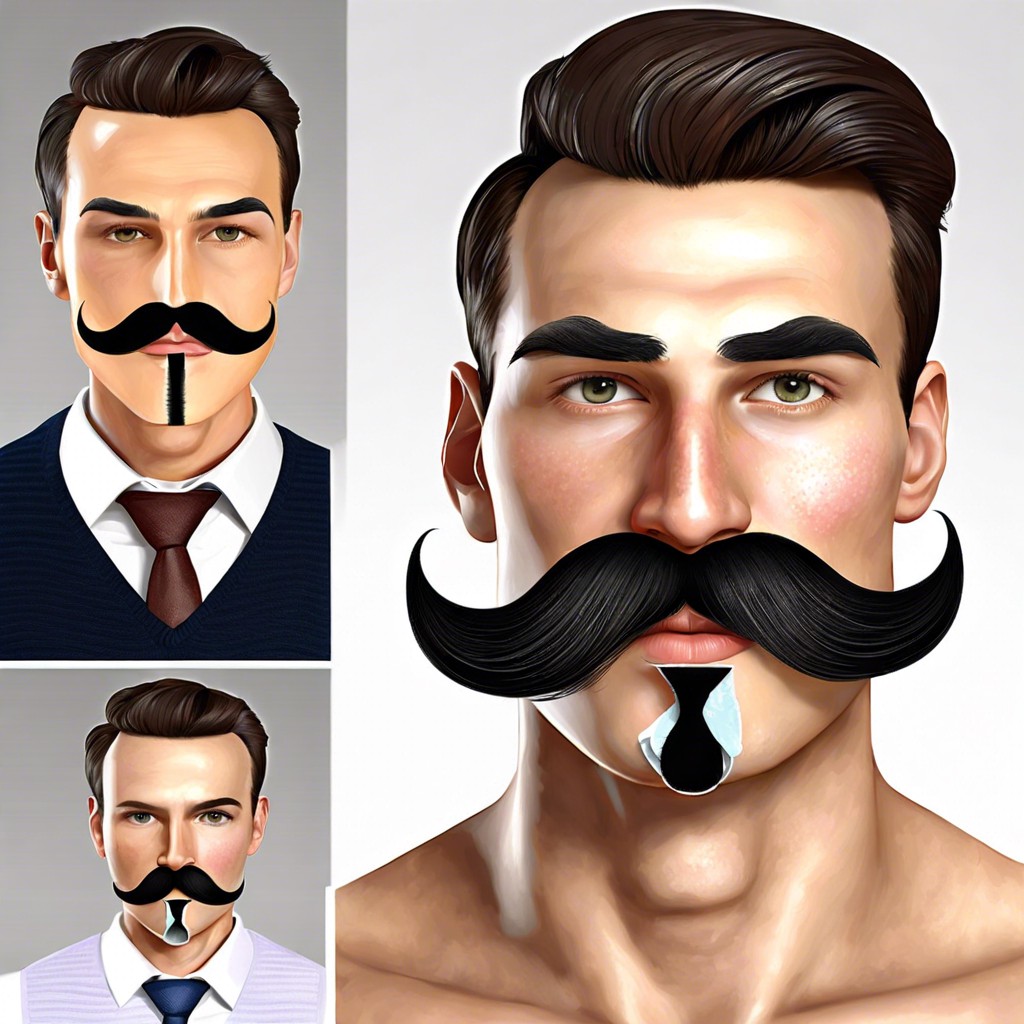
Learn how to securely attach a mustache to your face for any costume or special event.
Ever felt your upper lip is missing that extra oomph for a costume party or a spontaneous disguise? Fret not, because sticking a mustache on your face is easier than you think! This guide will take you from a bare-faced dullard to a mustachioed marvel with just a few simple steps, covering everything from choosing the right adhesive to perfecting the natural look. Ready to transform? Let’s brew up some mustache magic!
Key takeaways:
- Choose the Right Adhesive: Opt for skin-friendly, compatible adhesive.
- Cleanse the Application Area: Wash, dry, and tone for a flawless stick.
- Trim and Shape the Mustache: Comb, trim, shape for perfect fit.
- Apply Adhesive to the Mustache: Evenly spread for secure hold.
- Position the Mustache On Your Face: Align symmetrically for suave look.
Choose the Right Adhesive

Not all adhesives are created equal. Some are meant for gentle skin, while others provide a firmer hold. Opting for a skin-friendly adhesive like spirit gum can prevent irritation and ensure comfort.
Water-based adhesives are a good choice for all-day wear. They’re a bit like superheroes, tough yet gentle. If your mustache needs to withstand an action-packed day or even a dance-off, go for a stronger adhesive, such as a silicone-based one.
Test the adhesive on a small patch of skin first. Better safe than sorry, right? Lastly, make sure the adhesive is compatible with your mustache material. Wax’s best friend might not be silicone. Select accordingly.
Cleanse the Application Area
For a flawless stick, cleanliness is key. Dirty surfaces don’t glue well, and we’re not in the business of mustache mishaps, are we?
First, grab a gentle facial cleanser. No, your gym sock doesn’t count. Wash the area where your mustache will reside.
Second, pat it dry. No rubbing, unless you want your face looking like a tomato.
Lastly, if you have oily skin, a dab of toner will help keep things matte and marvelous. You’re aiming for squeaky clean, not Sahara Desert dry.
Trim and Shape the Mustache If Necessary
Not all mustaches are created equal! Some might need a bit of a trim to fit your face perfectly. Here’s the deal:
First, use a fine-toothed comb to gently comb through the mustache. This helps identify any uneven lengths.
Second, grab a pair of sharp scissors or a trimmer. Scissors offer precision, while trimmers are great for uniform length. Whichever you choose, take it slow. Snip or trim in small increments to avoid overdoing it.
Watch the width. Check where the mustache ends line up with your face. Ideally, it should not extend beyond the corners of your mouth unless you’re going for an exaggerated style.
Finally, shape it up. Round the edges or keep them straight depending on the look you’re aiming for. A bit of creativity here can totally change your look, like sculpting your own piece of facial art.
Apply Adhesive to the Mustache
Here’s the fun part: dab a bit of that trusty adhesive on the back of the mustache. Too much glue and you’ll look like a kid’s arts and crafts project gone wrong; too little and your ‘stache might end up in your soup.
Spread it evenly, covering the entire surface but especially the edges. Uneven application results in awkward flaps, and nobody wants a flapping ‘stache.
For those using spirit gum, tap it gently to get it tacky. Yes, just like the nickname that one friend from college insistently gave themselves. Happy tapping!
Position the Mustache On Your Face
Got your adhesive and ‘stache ready? Let’s get that baby in place!
First, locate the center of your upper lip. This spot is ground zero for mustache alignment. No one wants a lopsided lip sweater.
Next, gently press the mustache onto your skin. Start at the center and work your way outward. This ensures a balanced and natural look.
Don’t forget to align it symmetrically with the corners of your mouth. Tilted? Time to readjust.
Lastly, look in the mirror. Move your head from side to side. Check if it’s straight from every angle. Symmetry equals style.
Boom, you’re halfway to suave city!
Press Firmly and Hold
Now that your mustache is in place, it’s time to solidify that look.
Press firmly on the mustache, making sure to cover the entire area where the adhesive meets the skin. Think of it like giving your upper lip a gentle but convincing pep talk. This helps the adhesive bond securely.
Hold it in place for about 30 seconds. Patience is key here. Count to 30, sing a short song, or recite a haiku (your choice). Ensure every part is adhering well.
Remember, pressing evenly avoids any awkward gaps or loose edges. You want that mustache to look like it’s been part of your face all along. Be gentle but assertive; your upper lip deserves it.
Adjust the Edges for a Natural Look
Edges matter. After you’ve pressed and held the mustache, take a good look at those little bits that might be sticking out.
Lightly tap and smooth the edges with your fingers. Be gentle. Think of it as a delicate dance, not a wrestling match.
A mirror is your best friend here. Catch different angles. Do the edges blend seamlessly with your natural skin? Fantastic.
If there’s a gap or two, don’t panic. Grab a bit more adhesive on a cotton swab and press those rebellious hairs into place.
Check symmetry. The edges should mirror each other. You don’t want one side having a party while the other side’s stuck in the corner.
Finally, comb the mustache to integrate those edges. Make them feel like part of a family, not outcasts.
Allow the Adhesive to Set
Patience, my perky-mustached pals, is a virtue. Once the mustache is firmly in place, it’s crucial to give the adhesive a moment to work its magic. Rushing this step might lead to a mustache escape plan that neither of us signed up for.
Hold the mustache gently in place for around 30 seconds. Think of it as bonding time—literally. Use this moment to ponder the deeper meaning of mustaches. Or, you know, just make sure it’s staying put.
After these critical seconds, keep your face still for a few minutes. No wild facial expressions just yet, as tempting as it is to test the Smolder. You want every bit of glue to sit tight.
Consider using a little fan or a cool breeze for quicker setting. Not a leaf blower, though. Keep it classy.
Lastly, a quick peek in the mirror to check positioning post-set can save you from rockin’ the lopsided look. And now, onward to more mustached mischief.
Test the Hold and Make Adjustments
Give your newly adorned mustache a gentle tug here and there; it’s like asking it, “Are we in this together?” Be firm but not overly aggressive.
If it’s showing signs of rebellion like a teenager, you might need to press down again or add a smidge more adhesive.
Check the symmetry in a mirror; nobody wants a mustache that’s constantly raising an eyebrow—or half of one, anyway.
Ensure it’s not poking out at odd angles. A mustache behaving like a wild hedgehog can ruin your dapper look.
Consider carrying a tiny emergency adhesive kit for those “just in case” moments. Because what’s life without a little excitement?
Use Makeup for Blending If Needed
Blending is key to making that mustache look like it grew there overnight. Grab a concealer or foundation that matches your skin tone. Dab a tiny bit onto a makeup sponge or brush.
Gently apply around the edges of your newly stuck-on facial masterpiece. Blend outward to soften any harsh lines.
Don’t forget to check your handiwork under different lighting. Store-bought glam should look as good under fluorescent lights as it does in candlelight. If your mustache looks like it’s from a costume shop horror show, keep blending until it’s smooth and seamless. You got this.

