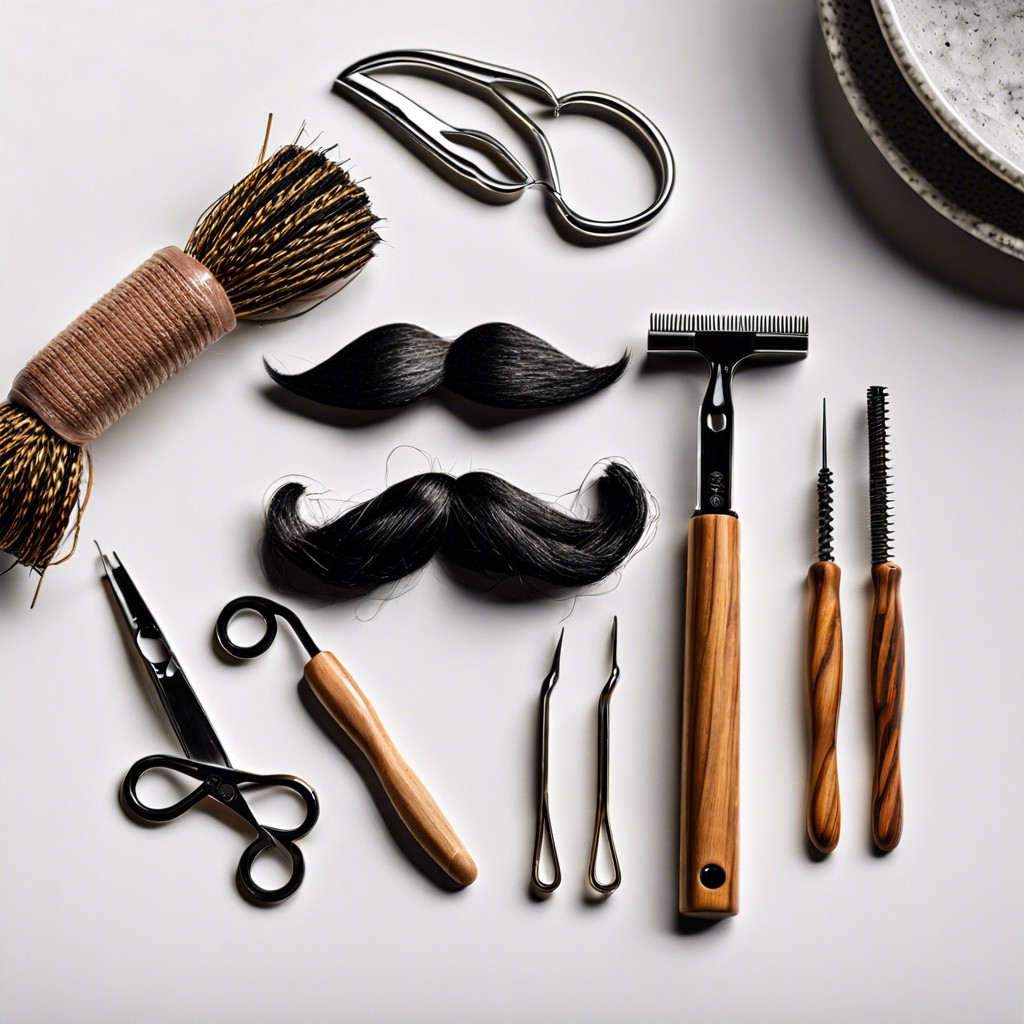
Learn how to thread your mustache step-by-step to achieve a sharp, clean look at home.
Want a mustache so sharp it could slice through the fabric of space-time, but without the hassle of painful waxing or constant trimming? Threading is your new best friend. This step-by-step guide, complete with prep tips and precision techniques, will have your ‘stache looking snazzy in no time. Dive in, and let’s twist and yank our way to mustache mastery!
Key takeaways:
- Gather scissors, thread, towel, mirror, cleanser.
- Sanitize tools and workspace for cleanliness.
- Trim mustache length for symmetry and ease.
- Use high-quality, medium-weight threading thread.
- Maintain regular threading schedule for sharpness.
Gather Necessary Tools

Imagine being a mustache wizard, conjuring your tools like magical artifacts: scissors sharper than your wit, a thread strong enough to lift your spirits, and a clean cotton towel ready to catch any stray hairs like a goalie on game night. You’ll also need a mirror to aid in your precision and a gentle cleanser to keep things fresh and pristine.
- Ready your arsenal:
- Scissors for fine-tuning
- Thread made of cotton or polyester
- Clean towel
- Mirror for accuracy
- Gentle cleanser for cleanliness
Gathering these items is your first step towards mustachioed magnificence.
Sanitize Workspace and Tools
Crank up the germ-busting vibes before you start. Cleanliness isn’t just next to godliness; it’s also next to a dapper mustache.
First, give your hands a good scrub. Think surgeon preparing for surgery, but way cooler. Warm water, soap, and at least 20 seconds of vigorous rubbing.
Next, your tools need a spa day. Wipe down scissors, combs, and especially your threading thread with rubbing alcohol. Don’t skimp. Your mustache will thank you.
Lastly, make sure your workspace is clean. No pizza crumbs from last night—unless you’re into mustache-flavored snacks (not recommended). Use a clean towel to lay out your tools and create a sterile environment, free from dust, dirt, and anything that might mess with your precision.
A clean setup says you mean business. Plus, who doesn’t want to look like a pro while grooming?
Trim Mustache to Desired Length
Trim away the forest, but don’t clear-cut it. Scissors or an electric trimmer? Either works. Pick whichever makes you feel like the Picasso of face fuzz.
Maintain a steady hand—no slip-ups! Trim in front of a well-lit mirror. Stand tall, but relaxed. Your mustache isn’t going to a military academy, but it does deserve some discipline.
Work from the center outward. This keeps symmetry in check and prevents an accidental lopsided grin. Aim for an even length across the entire mustache.
Be conservative. You can always trim more if needed, but adding hair back? Not an option.
Comb through the mustache. It reveals any rogue hairs hiding in plain sight. Snip those rebels into place before they lead a follicle revolution.
Choose the Right Threading Thread
Choosing the right thread is crucial for a smooth threading experience. First, skip the sewing thread; it’s too harsh and might break. Opt for 100% cotton threads specifically made for threading. They’re more durable and less likely to snap.
Pay attention to the thickness of the thread as well. Too thick and it won’t catch fine hairs. Too thin and it might break easily. A medium-weight thread hits the sweet spot. Also, consider anti-bacterial threads for added hygiene, especially if you have sensitive skin.
In essence, invest in high-quality threading thread to avoid unnecessary hassles.
Prepare Threading Thread
Opt for a high-quality cotton or polyester thread from the beauty supply store. Avoid using regular sewing thread; it’s too thin and can break easily.
Cut about 20 inches of thread. Trust me, you’ll need the extra length for grip and control, even if it feels like you’re preparing for a kite-flying championship.
Tie the ends of the thread together to form a loop. A simple knot will do the trick, nothing fancy required here.
Twist the loop in the middle about 10 times. This twisted center is the magic spot that traps and pulls out the hair.
Once you have your twisted thread, practice opening and closing the loop using your fingers. Master this little dance now, and your mustache will thank you later.
Position Yourself and Your Mustache
When gearing up, your objective should be optimal visibility and comfort. Here’s how to set yourself up like a pro:
Stand or sit near a bright light source. Natural light works wonders, but a good lamp will do the trick.
Use a well-placed mirror, preferably magnifying. It’ll help you zero in on those pesky hairs.
Tilt your head slightly back. This angle makes your upper lip area more accessible.
Keep your face relaxed. Tension can make threading more difficult and painful.
Anchor your skin taut using your other hand. Tighter skin equals easier threading.
And remember, your nose hair deserves its privacy—mustache threading shouldn’t become a nose job!
Use Threading Technique for Precision
Thumbs and pointers at the ready! Loop that thread over the hair you want to remove. Twist it in the middle a couple of times. Think of it like creating a mini-lasso.
Hold the ends of the thread taut. Move fingers in a scissor motion. Opens and closes the loop to catch and pluck the hair. Keep loops close to the skin for better control and less ouch.
Use a mirror to see what you’re doing. No guessing games here. Work in small sections. Saves you from overzealous threading.
Keep calm and thread on, maestro. This is mustache art, not rush hour.
Remove Unwanted Hair By Threading
Start by holding the thread taut between your fingers, forming a loop. Place this loop against your skin with the area of unwanted hair inside.
Use a swift motion to twist and roll the looped thread over the hair. This crisscross action ensnares the hair and pulls it out from the root.
Ensure consistent tension in the thread to maintain precision. This prevents accidental cuts or uneven hair removal.
Remember to work in small sections to avoid missing any spots. This gives a cleaner, well-defined look guaranteed to impress.
Every few strokes, pause and check your progress. It’s easy to get carried away and over-thread, leading to a sparse mustache.
Keep the angle right. Too flat, and it won’t grip; too steep, and it could break the hair rather than remove it. Find your threading sweet spot.
Apply Soothing Aftercare Products
Now that you’ve threaded your mustache to perfection, it’s time to pamper that skin. Threading can leave the skin a tad sensitive, so here’s how you can soothe it:
Start with a cold compress. A few minutes of this will reduce redness and calm any irritation. Think of it as giving your mustache area a mini spa day—it’s deserved.
Next, apply a gentle, alcohol-free toner to cleanse any residual impurities. Witch hazel works wonders here.
Then, grab some aloe vera gel. It’s the magical unicorn of skincare: soothing, healing, and non-greasy. Slap it on like frosting on a cupcake.
Don’t forget to moisturize. Opt for a light, fragrance-free moisturizer to keep things smooth and hydrated.
Lastly, avoid heavy sun exposure right after. Your skin just got a workout—let’s not send it to boot camp immediately.
Your mustache deserves a little aftercare TLC, just like the rest of you. Treat it right, and it’ll treat you right back, promising both style and smoothness.
Maintain Regular Threading Schedule
Consistency is key to keeping that mustache looking sharp. Scheduling regular threading sessions every 2-3 weeks can help maintain your desired shape and prevent any unruly hairs from taking over.
Regular intervals mean you’ll spend less time each session, as there’s less growth to tackle. Plus, it ensures minimal discomfort since you’re managing shorter, finer hairs.
Think of threading like lawn maintenance. If you mow regularly, you avoid wrestling with a jungle! Choose a recurring day, sync it with other grooming habits, and make it part of your regular routine. It’s the little things that keep your mustache in tip-top shape!

